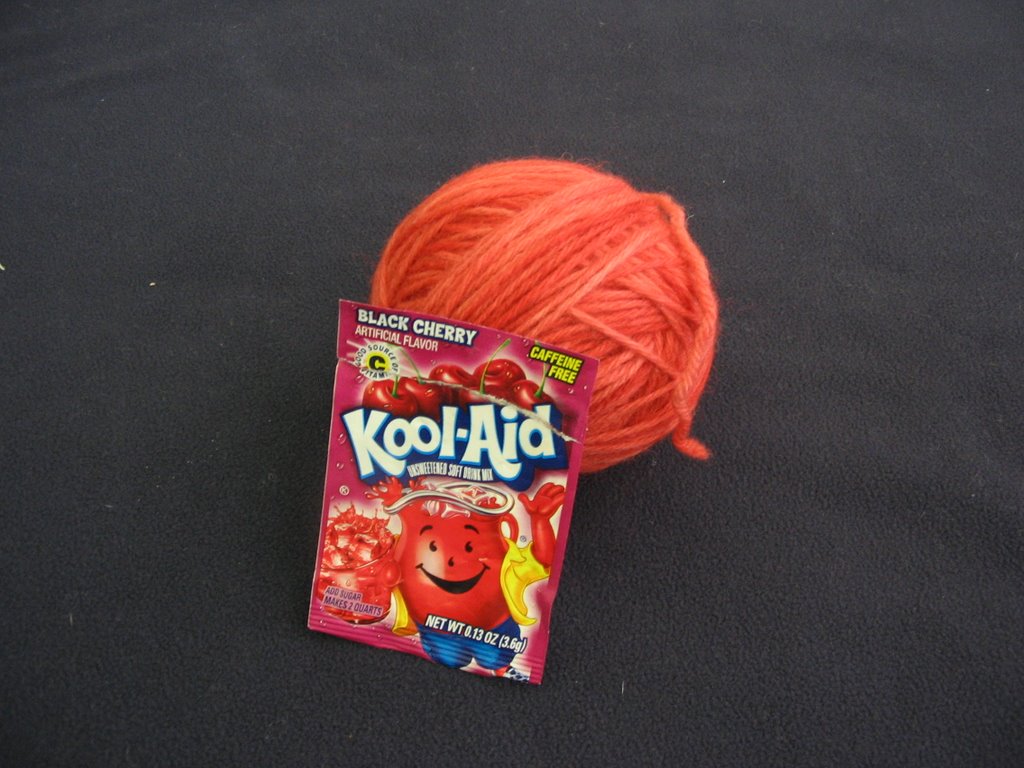
with a big ole'
skein of fisherman's wool! I spent yesterday afternoon dyeing wool yarn with Kool-aid. Kool-aid is supposed to be a permanent dye on all animal fibers, like wool, silk, mohair, etc. We'll see how it holds up, but it sure was FUN! I used
these instructions from knitty.com. The article gives three different methods--stovetop, microwave, and "painting" a variegated yarn. I tried one of each. I thought I'd share my process and results with you!
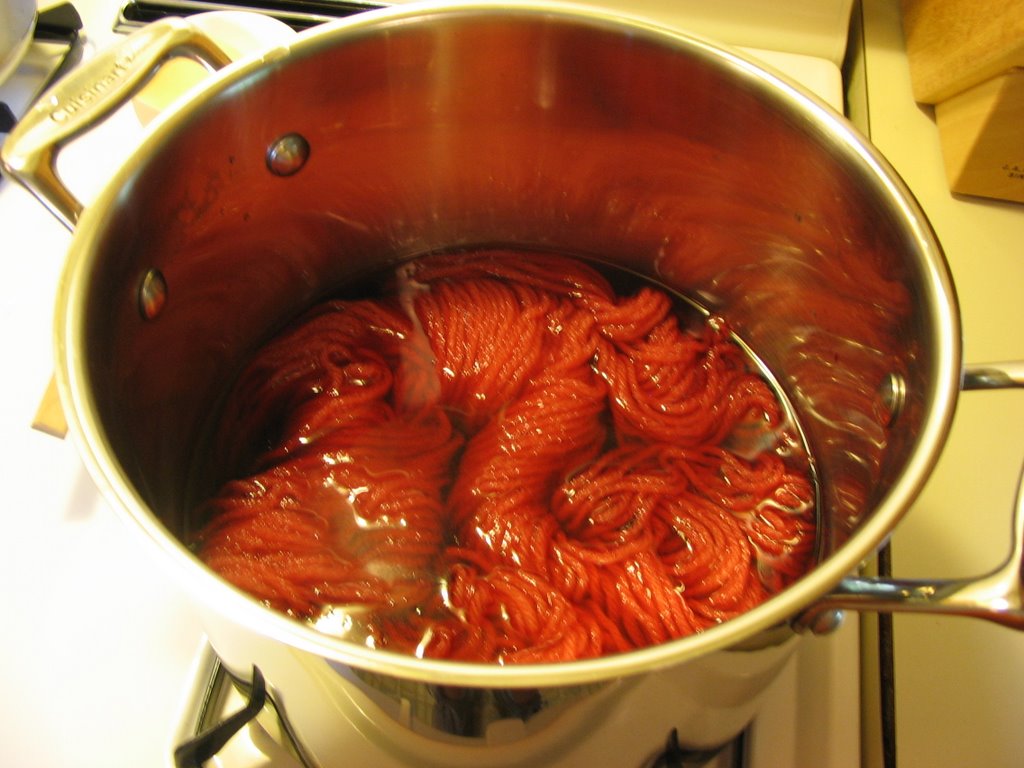
"Black Cherry" on the stovetop

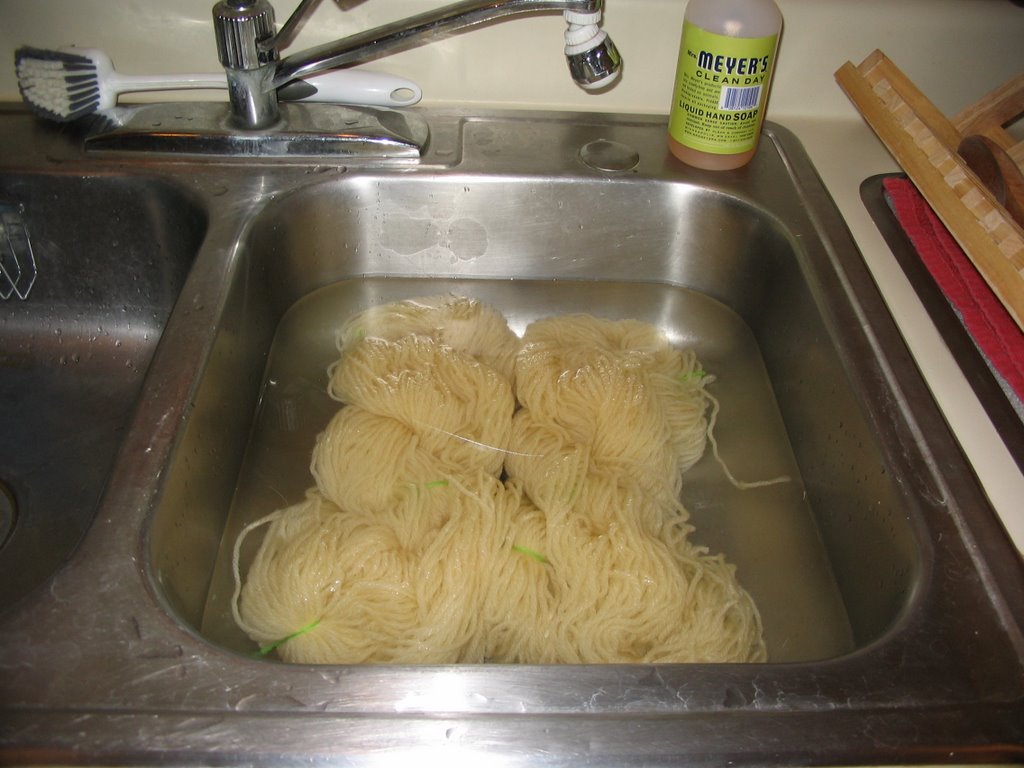
First, I bundled my yarn in "loose hanks" and chose my "flavors", about one package per ounce of yarn. Then I soaked my yarn in warm water with a glug or two of vinegar for 20-30 minutes until it was good and saturated.

Meanwhile, I mixed my Kool-aid with a very little bit of water--just enough to dissolve the powder. Then I put the Kool-aid mixture in a large pot on the stove, added the yarn, and enough water to just cover the yarn. I saw the yarn soaking up the dye almost immediately. I heated the water to nearly boiling (good and steamy) and then put the lid on the pot and let it sit for 30 minutes or so. I did stir it a few times, but I was afraid of felting it, so mostly I just poked the parts that looked like they needed a little encouragement with my spatula! The most amazing part, I thought, was that the yarn really did soak up all of the dye out of the water. Towards the end of its time on the stove, the water in the pot truly was clear and the yarn was red. Unbelievable.

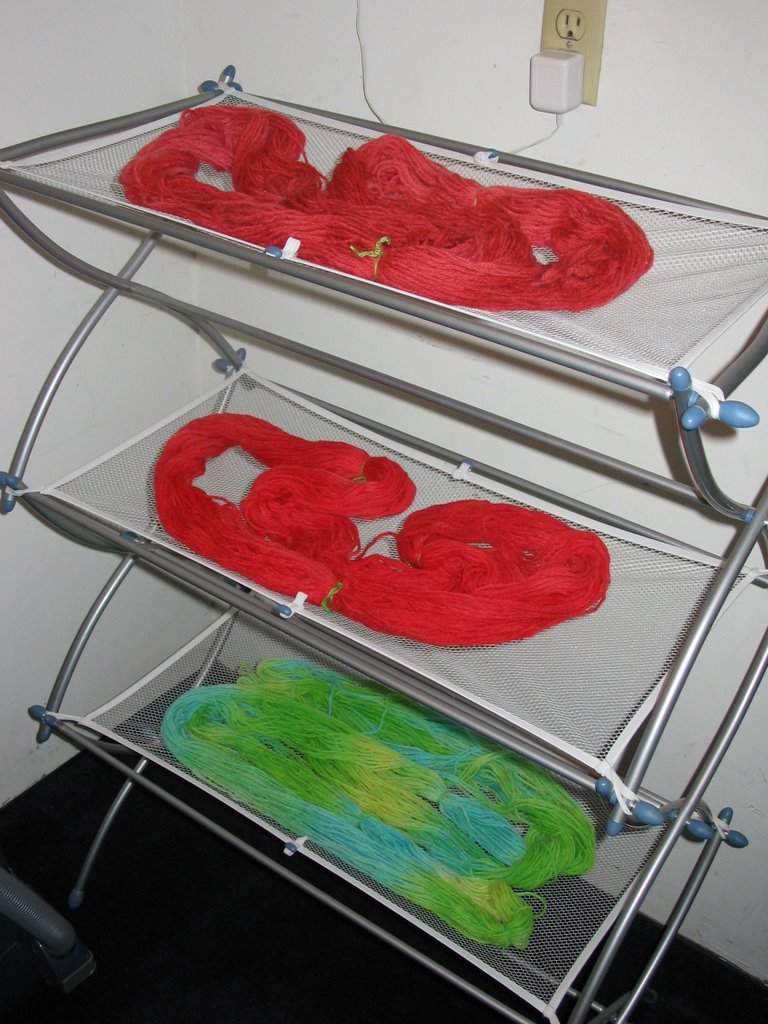
After the wool had cooled down enough for me to handle it, I rinsed it under warm water until the water ran clear (which took seconds--the wool was really well set with the dye) and laid it out to dry. I let it dry overnight and rolled it into a ball today. Ta-da!

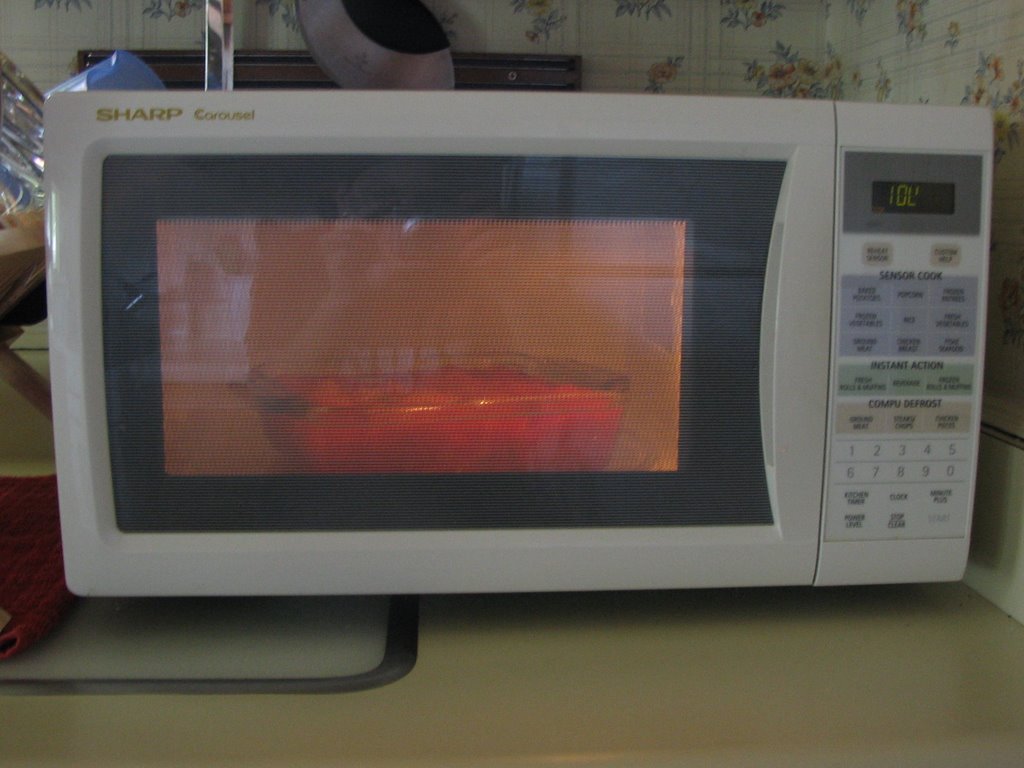
"Blastin' Berry Cherry" in the microwave

The microwave method was not my favorite. My wool didn't come out colored as evenly as it did on the stovetop. I started off the same way as the stovetop--soak the wool with a glug of vinegar, mix the Kool-aid with a little bit of water, and put in a microwave safe dish. I spread the wool out as best I could in my dish, but I think I should have chosen a bigger dish. I don't actually know if I own one that's bigger but would still turn well in my microwave, though. Bummer. And again, I filled it up with enough water to just cover the yarn. Then I zapped it for 2 minutes on high, let it rest about 10 minutes, and repeated the process two more times--zap, rest, zap, rest, let cool.


One of the reasons I wasn't too fond of the this method was that the dye didn't seem to heat-set in the microwave as well as it did on the stove. The water in the dish never was clear and when it was time to rinse this one, it took *forever* for the water to run clear. It finally did, though, and here's my result:

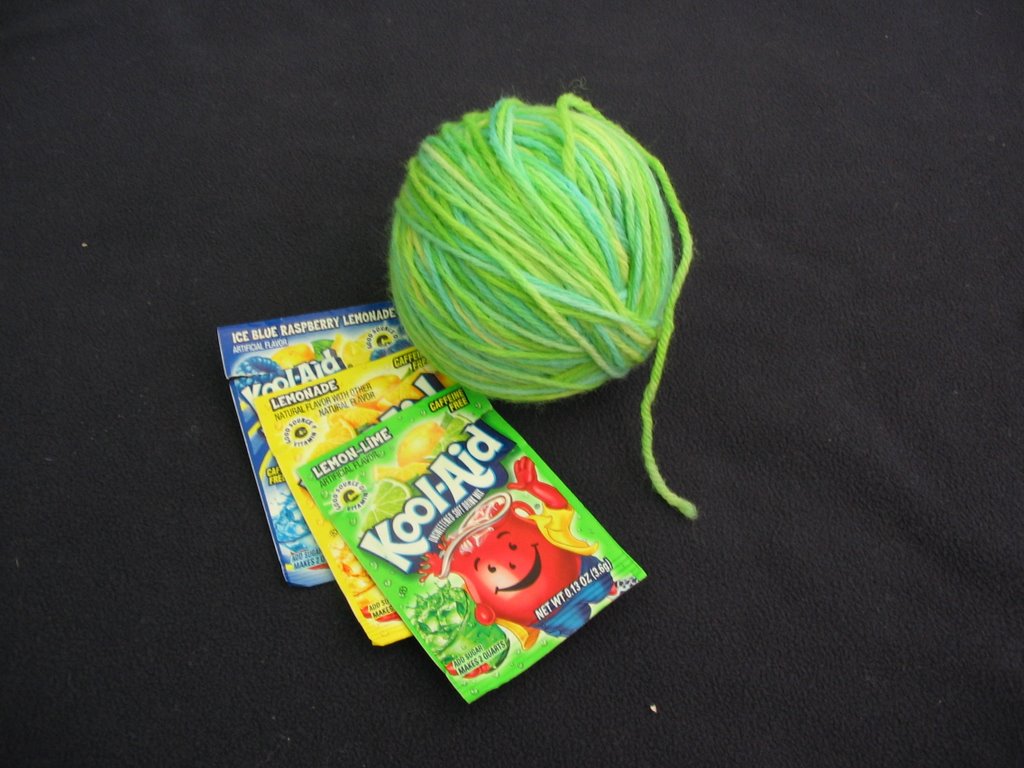
and the Grand Finale.... a variegated yarn using "Lemonade", "Lemon-lime",
and "Ice Blue Raspberry Lemonade"

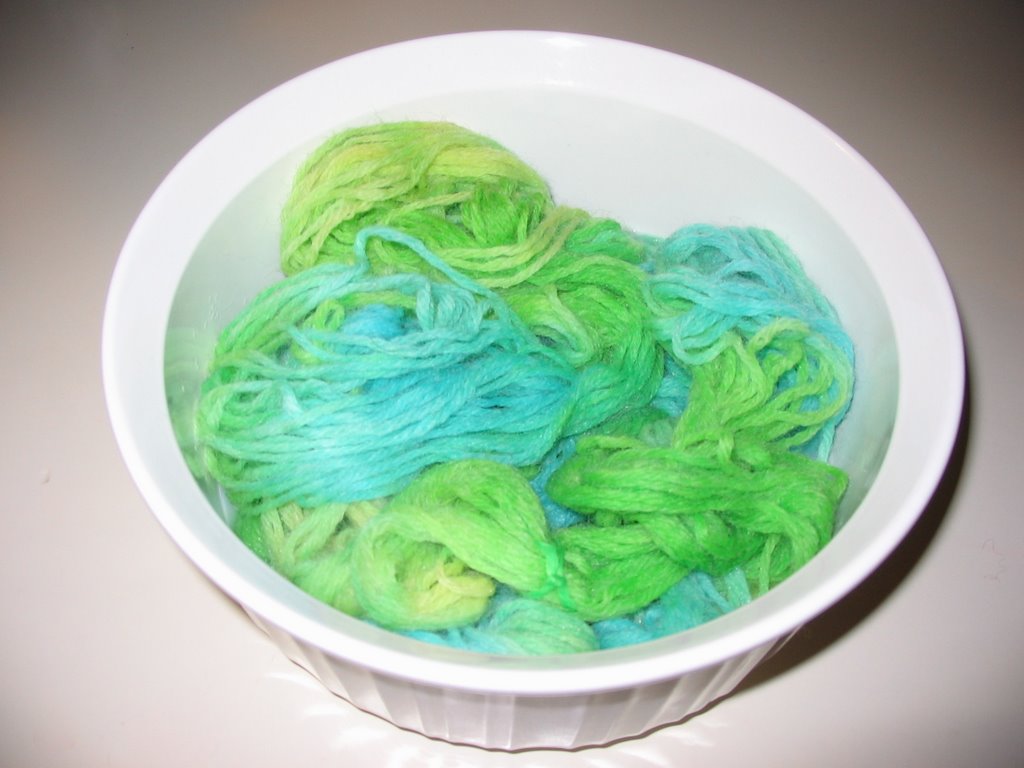
This was the most fun! Again, I soaked my yarn well with some vinegar while I mixed my three flavors. This time I put my flavors in three measuring cups, with about a cup of water each. I laid my yarn out flat on the floor with some trash bags underneath.

Then I poured a bit of one color and then another, one at a time, and patted it to make sure the dye saturated all of the yarn layers. I tried to use colors that wouldn't look tacky if they bled into each other, which is good, because they certainly did!

This is what the yarn looked like before I heat-set it in the microwave.

I put it in a caserole dish and zapped it twice for 2 minutes with a rest in between. There was no more colored water in the bottom of the dish after that, so I figured it was done.

This one rinsed clear almost immediately like the first one, and went on the drying rack with the others.

Here is the outcome of my variegated labors:

And one more...just to show off...
 Now, don't you want to try???